This simple rose flower was done easily with simple steps and few materials. Perfect with small girls who dream to be a princess.
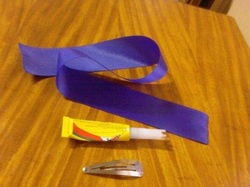
We need a ribbon of a foot long and an inch in width, a glue or glue gun, and a hair clip.
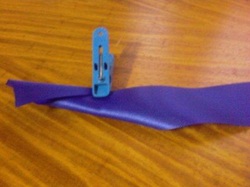
Fold the ribbon each time by 35-40 degrees.
While folding, you need to roll it to form the rose.
While folding and rolling, sew at the base to secure the design.
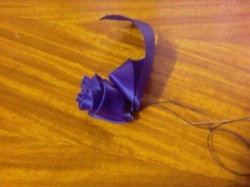
When you roll the ribbon, do not just roll it all the way. At the third of each roll you make fold it back for 1/4 inch until the end to create the petals as well as to make the rose bloom.
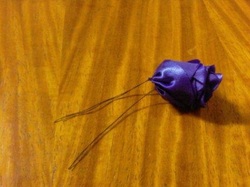
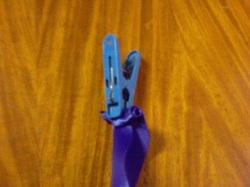
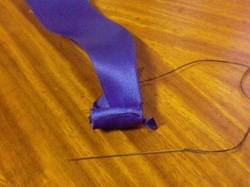
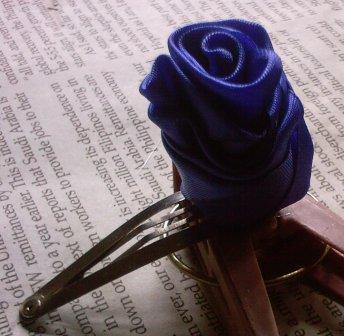
When you are done. The rose flower will look like this.
After which, glue it to a hair clip.
Organize your pens and pencil for easy picking inside the bag. Use a pencil case, or better yet, make your own.
We need:
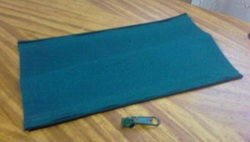
1) A 9" x 5" water proof material like that of a backpack or a tarp.
2) A zipper, 9" long.
3) Zipper slide.
We continue by:
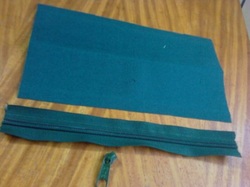
1) Sew the zippers at both sides of the material. (Somewhat not clear in picture but there's a zipper)
2) Insert the zipper slide.
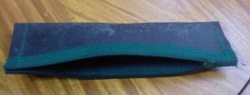
3) Put on its wrong side and sew the sides.
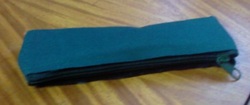
And we have the finish product. Its that easy and fun.
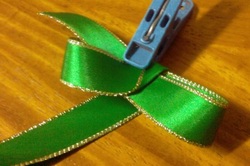
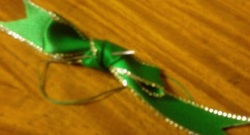
This is the basic ribbon accessorized for the hair clip. A delightful design that glamorize every girl.

We only need one material for this project and that is the ribbon. For this ribbon it is 3/4 inches wide.
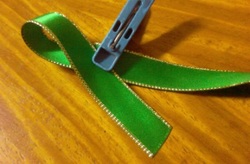
Fold 3 inches downward.
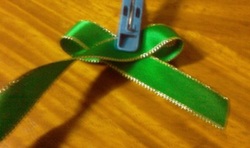
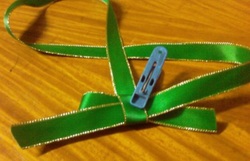
The same 3 inches for the other end, leaving 2 inches in between (as shown), now slowly resembling the knot that we wanted.
From the second fold, continue tying it at the middle by using the longer end.
Rotate it until it comes around one time.
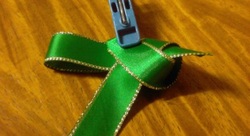
Then insert the long end to the middle of the circle you made to tuck it in.
Finish by clipping both ends like so.
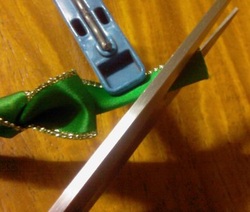
To secure the knot tightly, sewn in.

We are now ready to glue it on the hair clip.

 RSS Feed